

Being a newborn photographer, I have accumulated quite a few headbands and tiebacks. In an effort to simplify things during my sessions it is important for me to keep these headbands and tiebacks organized. My drawer system and clip systems both failed me. Frustrated, I decided to make my very own DIY headband holder. This holder helps me to easily visualize the headpieces I have onhand and prevents my long tiebacks from becoming tangled. I absolutely love it and I also think this idea would also work fabulously as a custom piece in a nursery. I hope you enjoy this DIY headband holder tutorial!


Materials you will need:

-
a piece of softwood
- The length and width are whatever you prefer. I used an old decorative sign that used to hang in my son’s bedroom. You could easily use any wide scrap piece of wood that you have at home, so long as it is at least 1 inch thick so the hardware doesn’t go all the way through it. The dimensions of my softwood piece are 1in x 3in x 4ft.
- I recommend using a softwood as they are less dense and less expensive.


-
hardware
-
pencil
-
tape measure
-
drill (optional)
-
paint
Now, let’s get started!
Step 1: Paint
Begin by painting your wood piece to the desired color. You will want to make sure this part is done first so that you aren’t trying to neatly paint between cup hooks later.
I used the paint I had on hand, leftover from another project. It is The Home Depot Behr Paint version of the Sherwin Williams color Repose Gray SW 7015.
(Sidenote: did you know you can go into the paint center at The Home Depot and give them the brand and color of any paint and they will color match it for you? You don’t even have to have the color swatch, just the name. How cool is that!).


Step 2: Measure
Once your wood is dry, grab your tape measure to begin plotting the distance between each cup hook. First, I measured 1-inch from the left and 1-inch from the right and marked a small dot with my pencil to denote the start and end of where I wanted to place my cup hooks.

Step 3: Measure Some More!
I continued to place a small dot every inch in between the start and end dots. This way, my cup hooks would be distributed across the board evenly. You can totally eyeball this part if you’re truly adventurous.


Step 4: Attach Cup Hooks
Next, I began adding the cup hooks. You don’t need any tools for this part. At least, when I made my first headband holder I didn’t use any tools for this part because I used softwood. Place the point of the cup hook onto the small dot mark and screw it in with your hand manually. Your fingertips and wrist may be a little sensitive after you finish placing all of the hardware. Another option: use a drill! Honestly, when I used the DrillMaster to drill the holes the project went a lot smoother. It took an extra step, but my fingertips and wrist thanked me later. Use a drill bit smaller than the 22mm diameter of the screw. Be careful not to drill a hole through your board! Then, screw the hooks in with your hands.

Step 5: Measure (again!) and Attach Your Hanger
Lastly, after all of the cup hooks have been installed, turn your project over and measure the midpoint of the board. Add your sawtooth hanger to this midpoint and voila! You’re done! In lieu of the sawtooth hanger, you could totally use Command Picture Hanging Strips to attach your headband holder to the wall. Since I used a decorative sign I already had on hand, so it already had the sawtooth hanger attached to the back of it.

I hope this DIY headband holder tutorial was helpful! I would love to hear about how you used this tutorial to organize your studio or another method you use to store your headbands and tiebacks!


Reaj Roberts Photography specializes in simple, minimalistic, organic, and timeless newborn, baby, maternity, family, and child photography. Clients typically visit my Chandler Ocotillo area studio from the East Valley as well as the surrounding areas including Phoenix, Scottsdale, Queen Creek, Casa Grande, and Maricopa and Pinal Counties.
Upon special request, I offer a limited number of in-home lifestyle newborn sessions each month. My blog posts are designed to feature a few of my client’s favorite images so you have an idea of what you will receive with you commission me to design your custom newborn portrait photography experience.
Makeup art application by a licensed cosmetologist is complimentary provided for pregnancy portrait sessions and available upon request for newborn sessions.
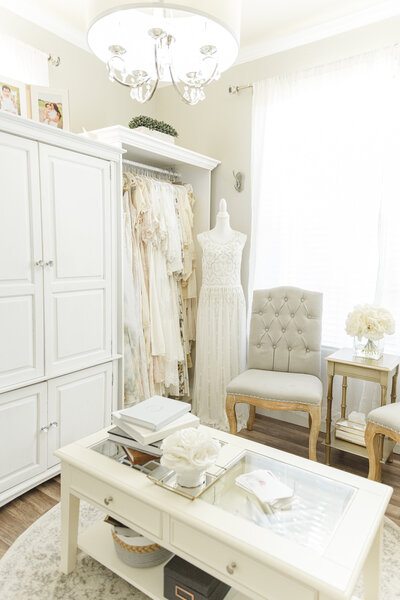
I am proud to offer my clients gorgeous wardrobe pieces to wear during their photo session. Beautifully feminine gowns are available for mothers to wear in an array of sizes as well as adorable, classic garments for babies and small children up to age 5.
I look forward to chatting with you about how we can create a beautiful illustration of your growing family with a family maternity session and hope you reach out to me by email at info@reajrobertsphotography.com or 602-430-3712 for bookings and additional details.



+ COMMENTS
add a comment